Step 1 - OneSignal Setup
The first step is to create a free account in OneSignal. For this example, we are going to use Web push but it works similarly for mobile. To get started, the first step is to create a free account on OneSignal. Once you’ve signed up and logged in, we’ll proceed to create a new OneSignal App. For this example, we’ll focus on using Web push notifications, but keep in mind that the process is quite similar for mobile apps. Create a new OneSignal App and select Web. Once your app is created, you’ll be provided with an App ID and API Key. Keep these credentials handy as we’ll need them later to integrate OneSignal with our code.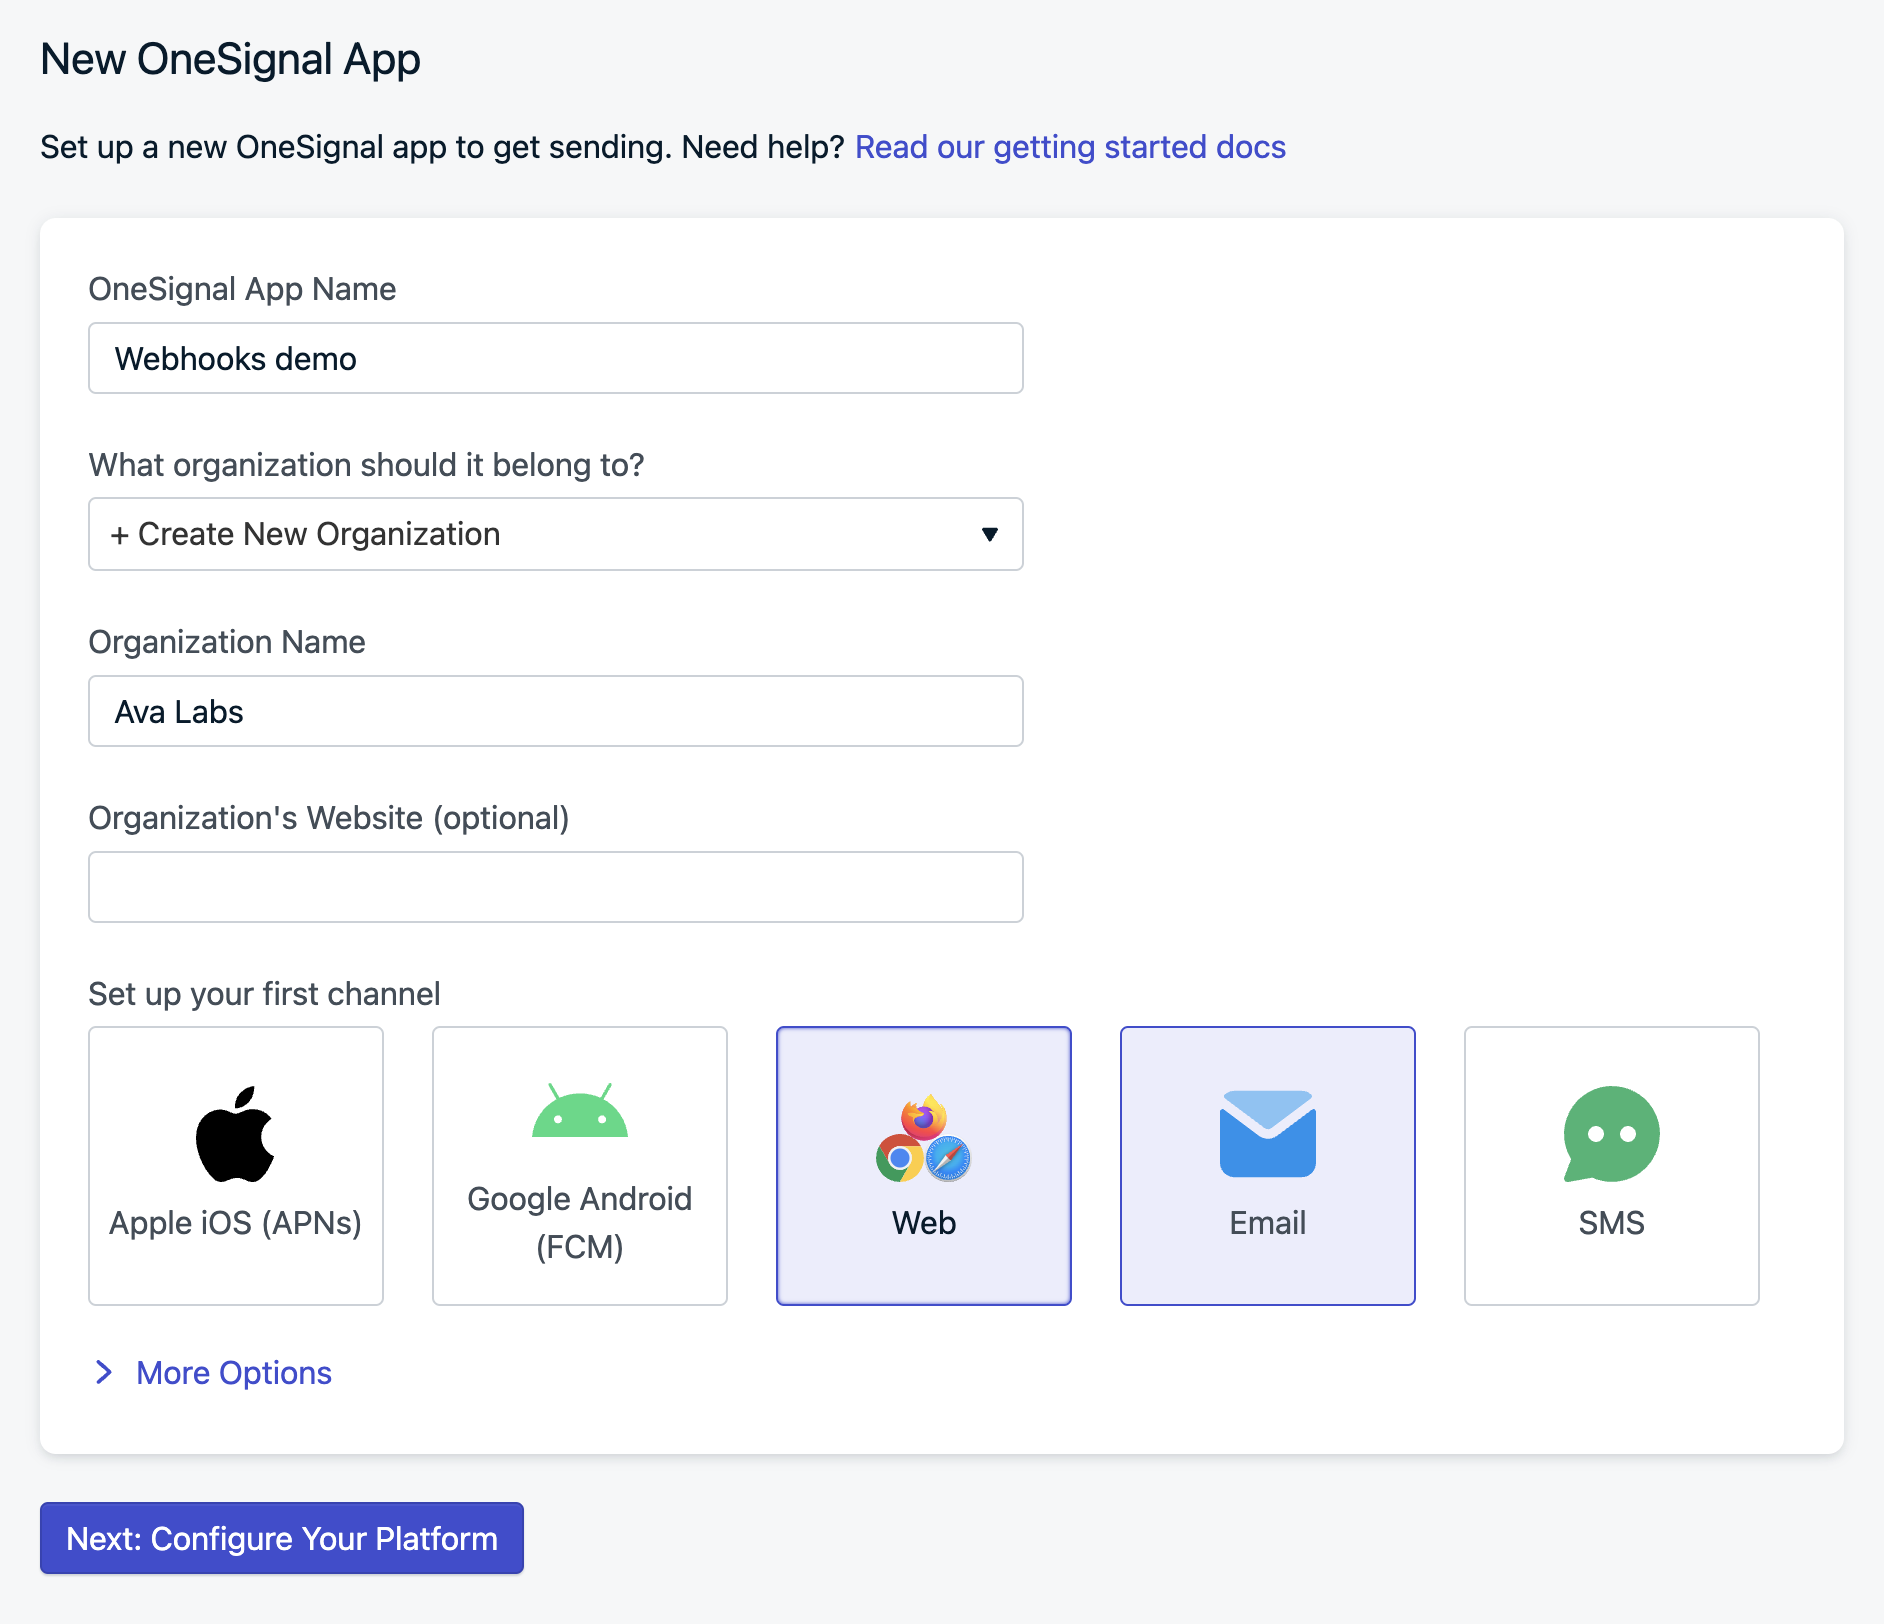
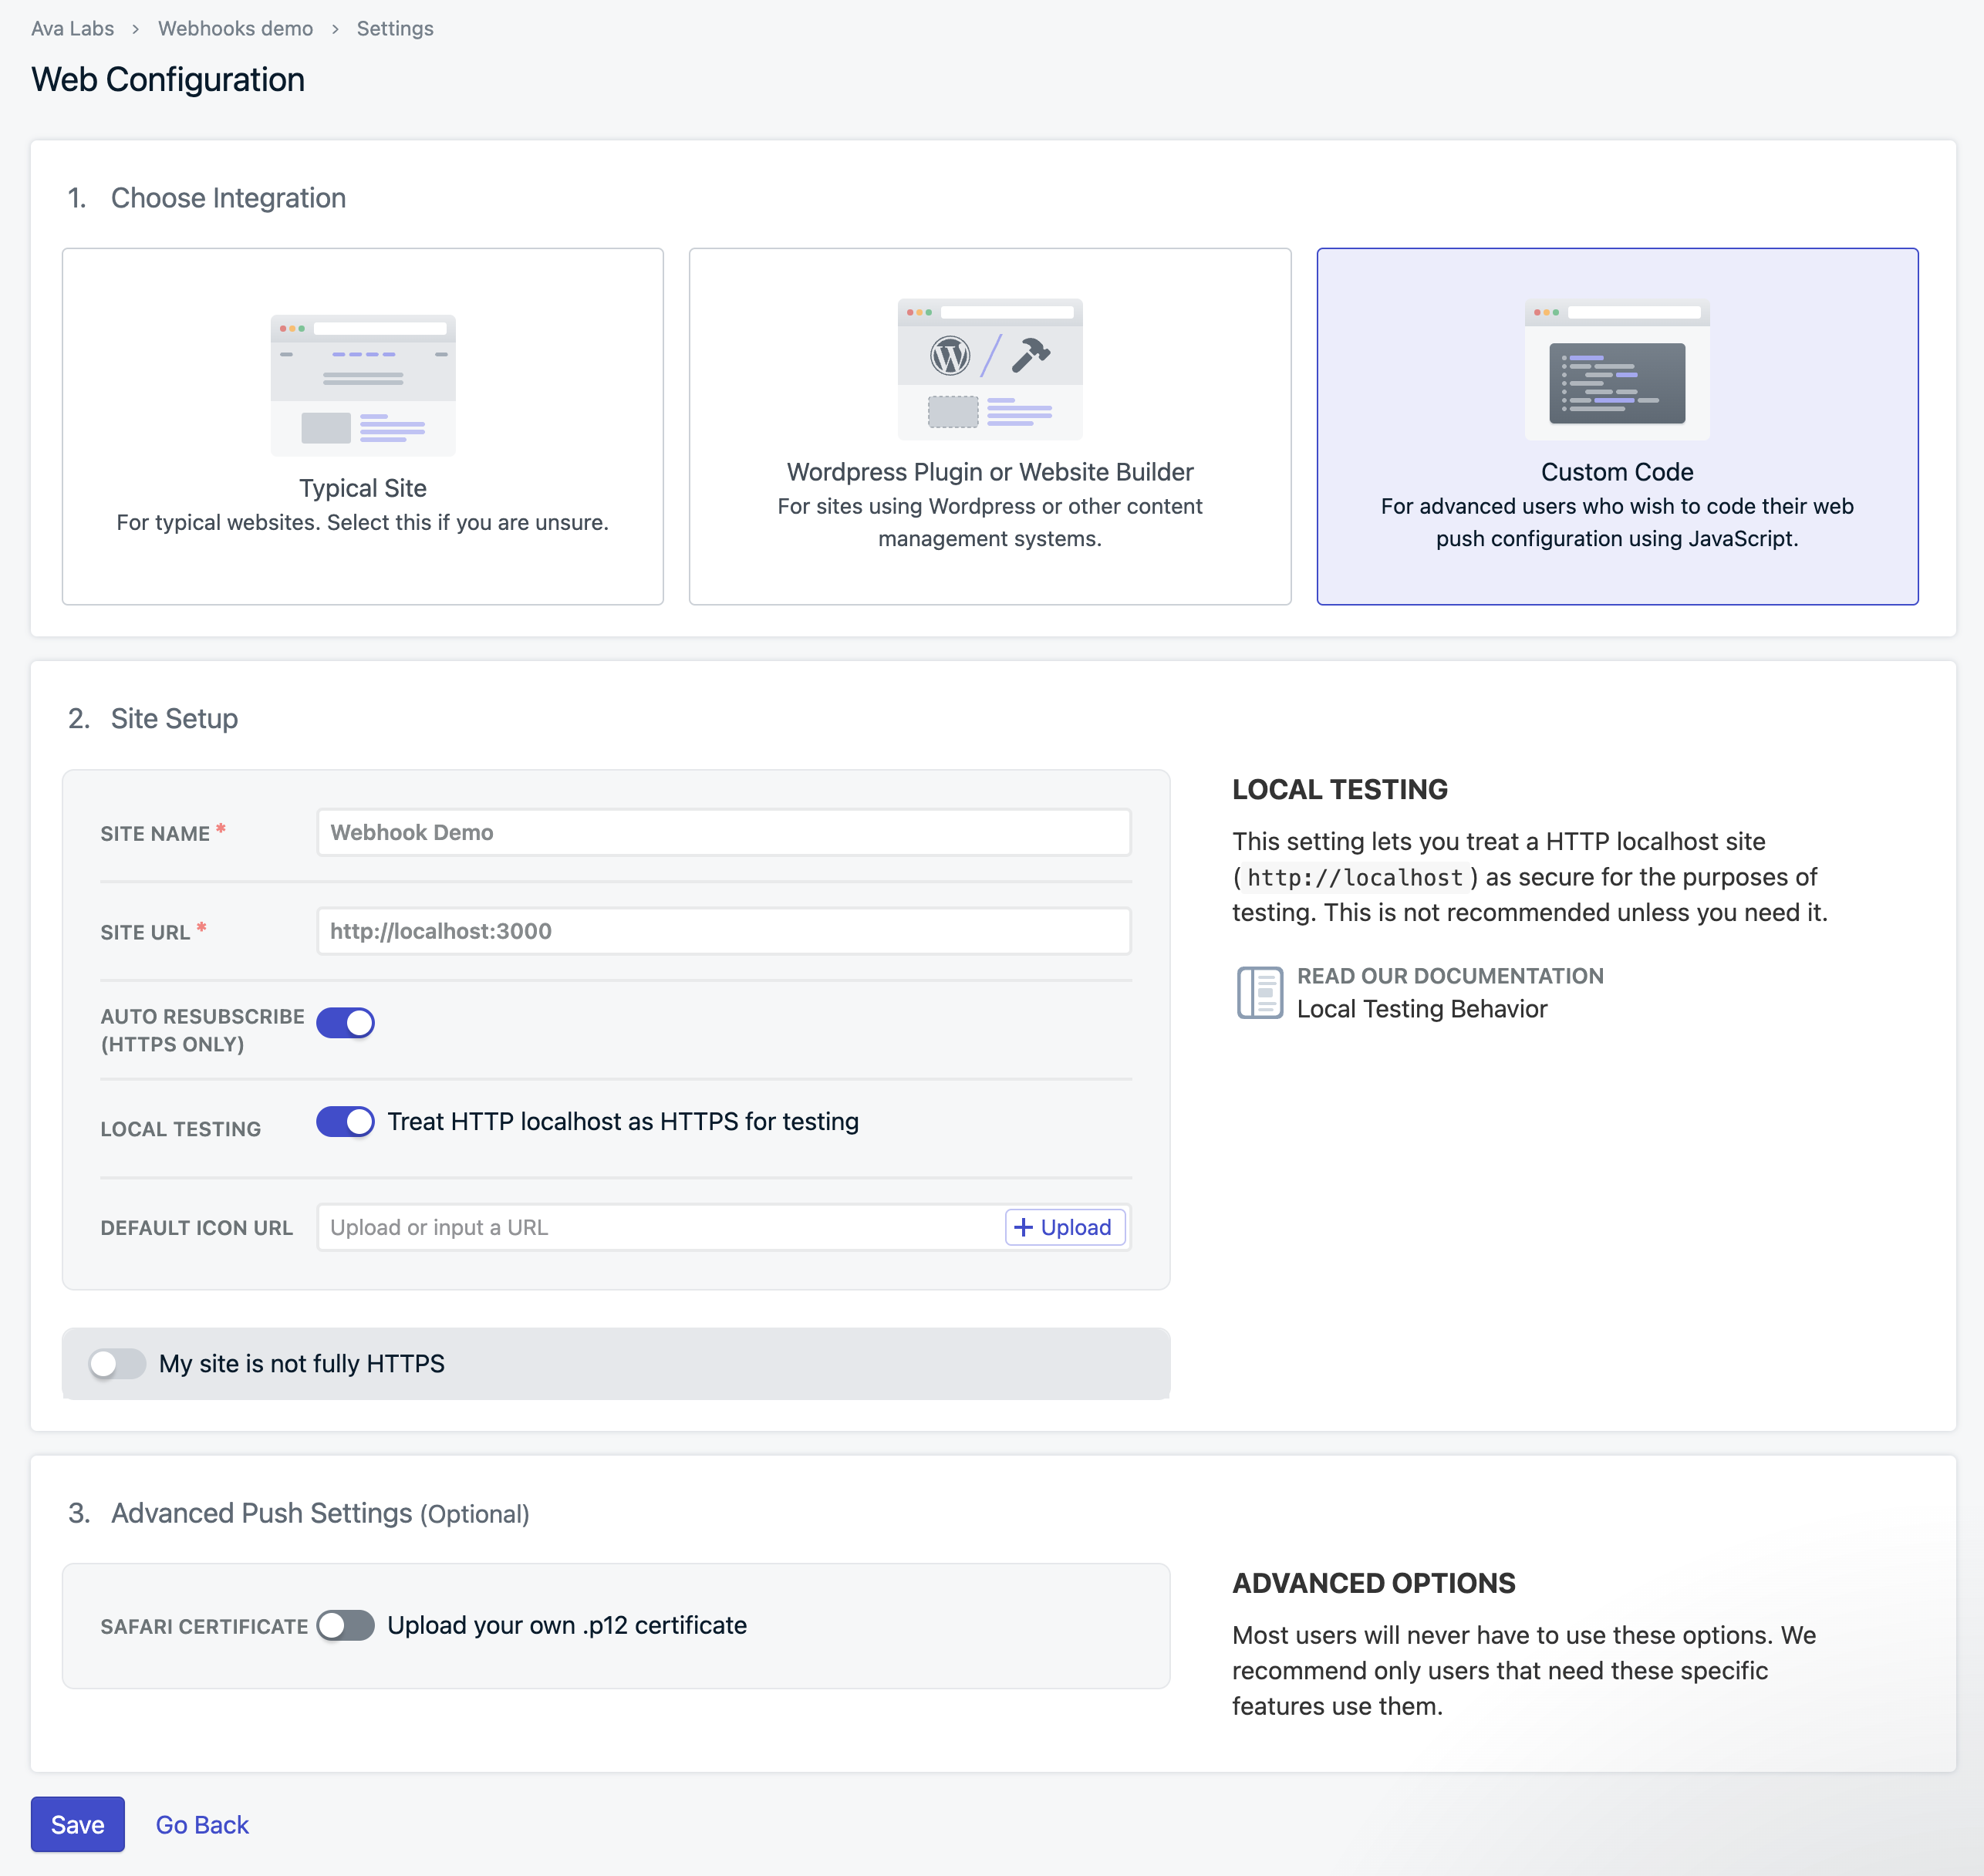
http://localhost:3000 and enable both toggles for local development.
Step 2 - Frontend Setup
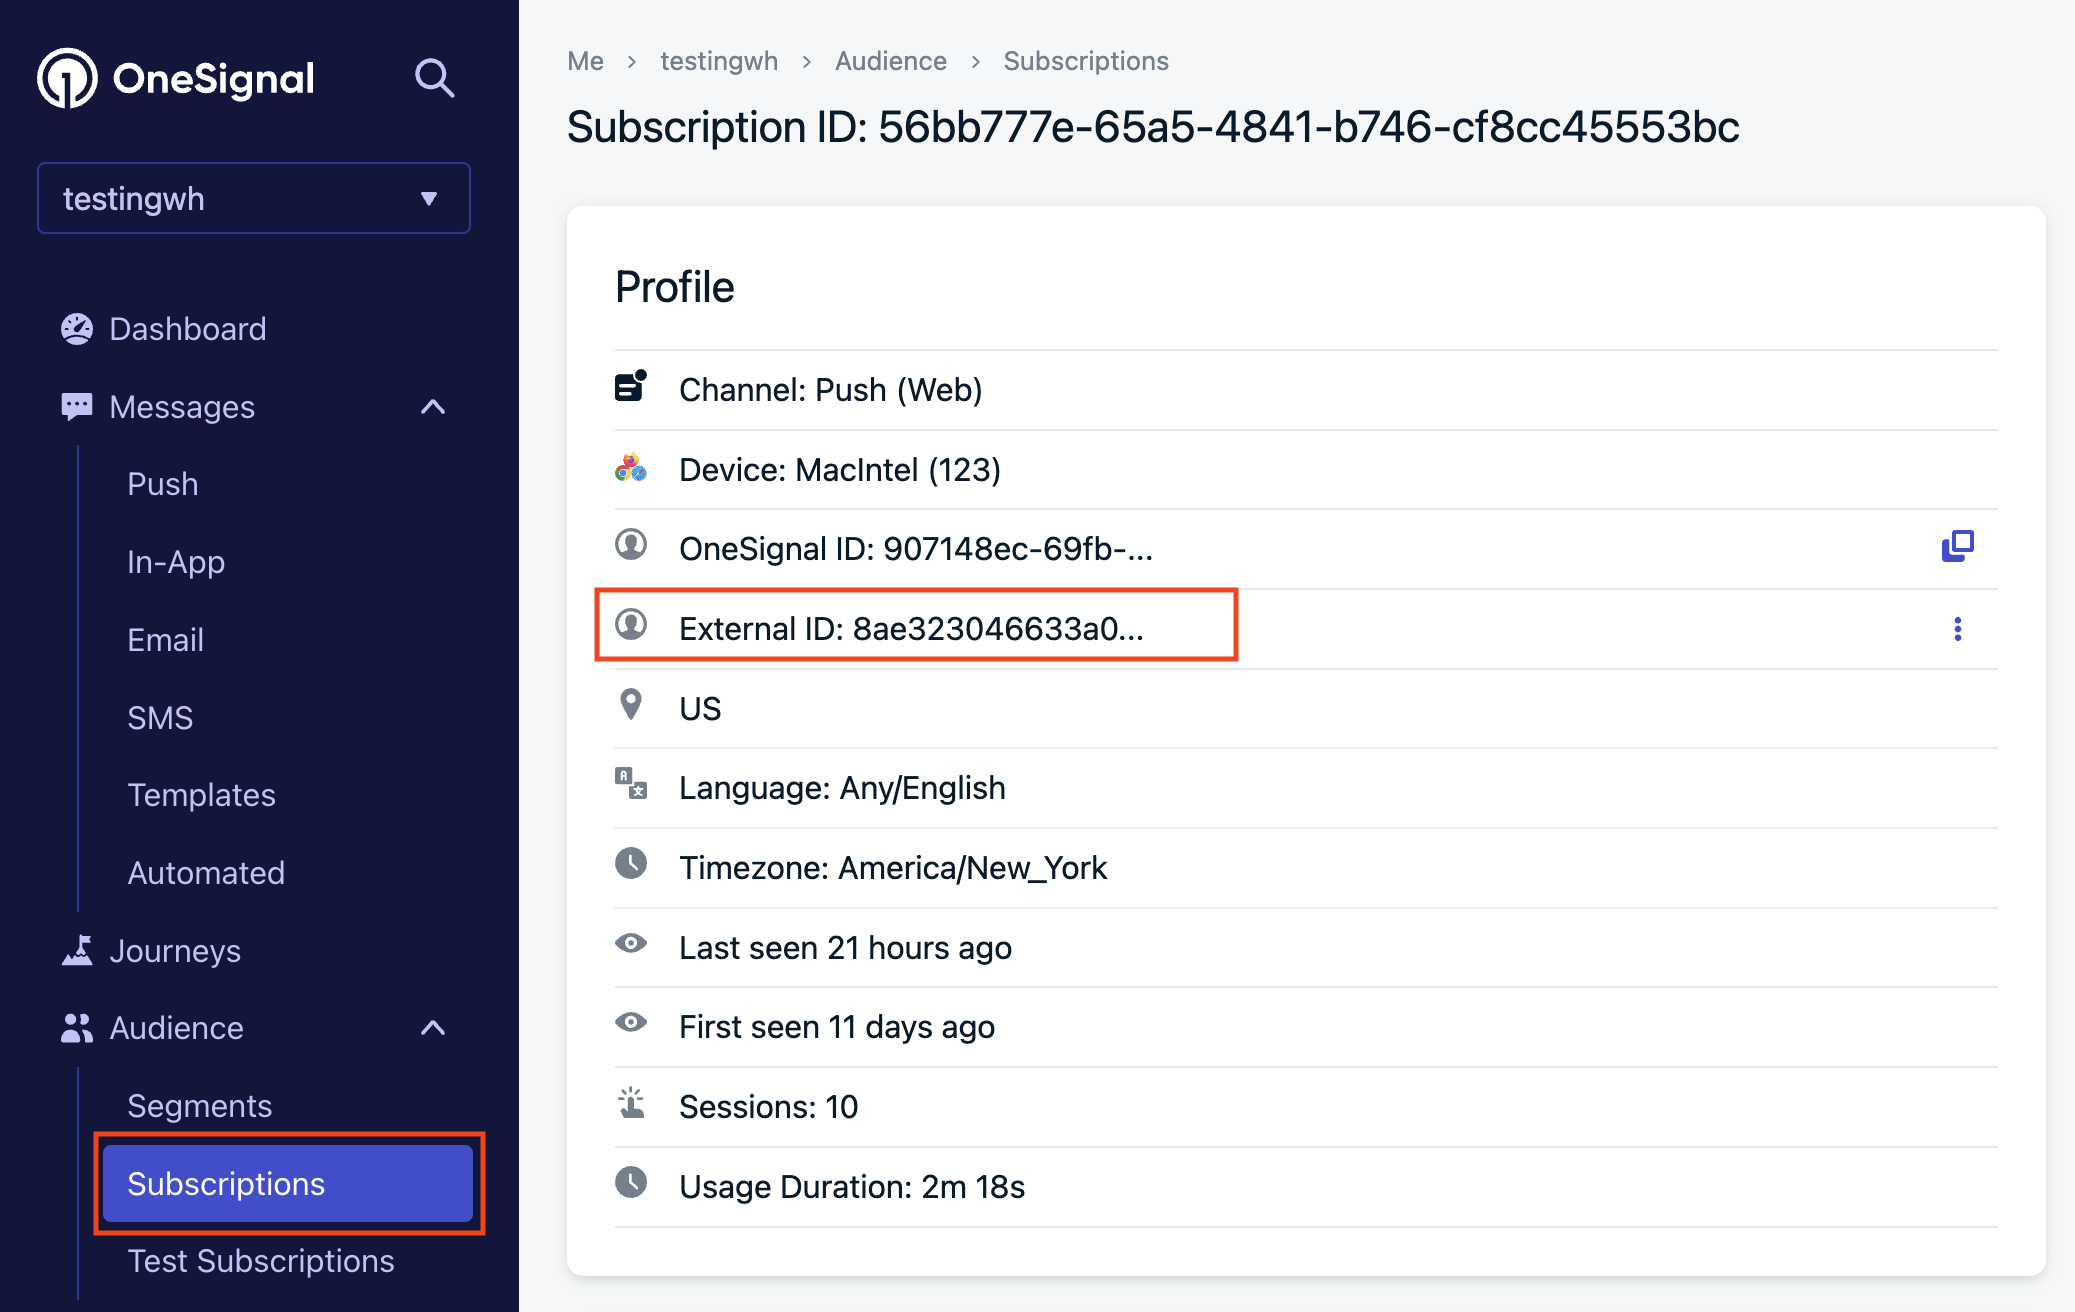
In a real-world scenario, your architecture typically involves customers signing up for subscriptions within your Web or Mobile App. To ensure these notifications are sent out, your app needs to register with a push notification provider such as OneSignal. To maintain privacy and security, we’ll be using a hash of the wallet address as theexternalID instead of directly sharing the addresses with OneSignal. This externalID will then be mapped to an address in our database. So, when our backend receives a webhook for a specific address, it can retrieve the corresponding externalID and send a push notification accordingly.

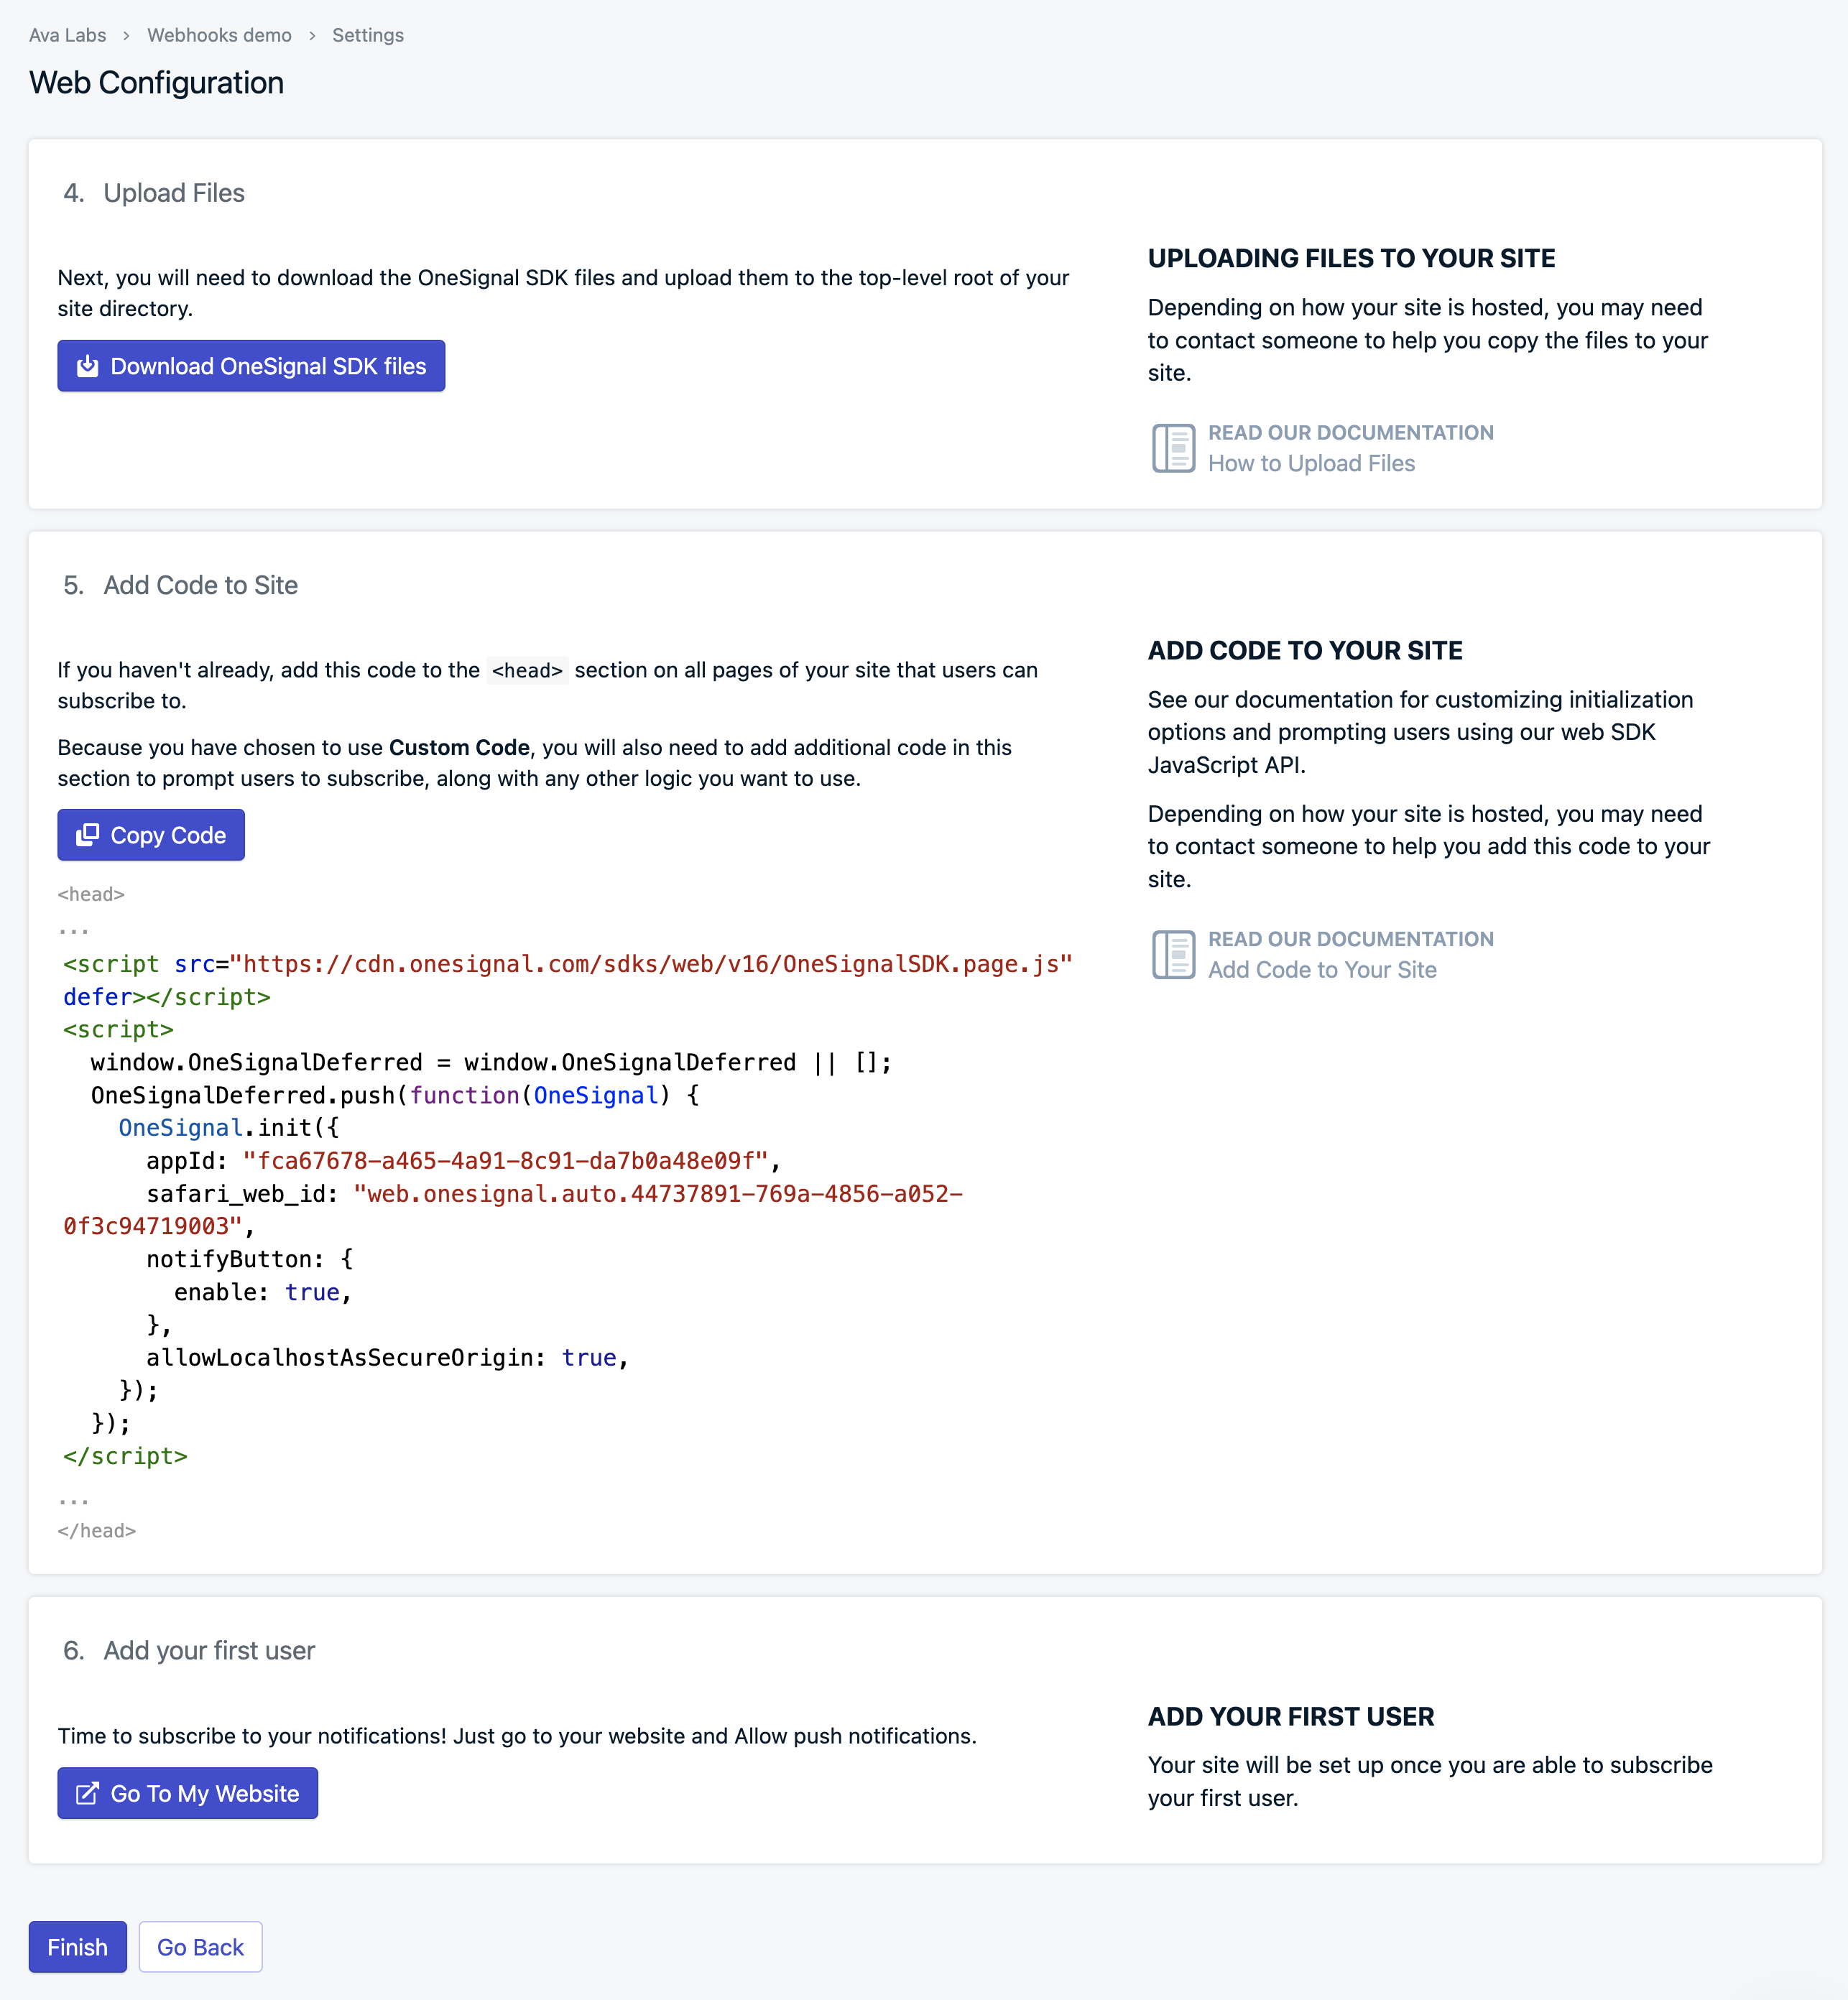
client/inde.html with this content.
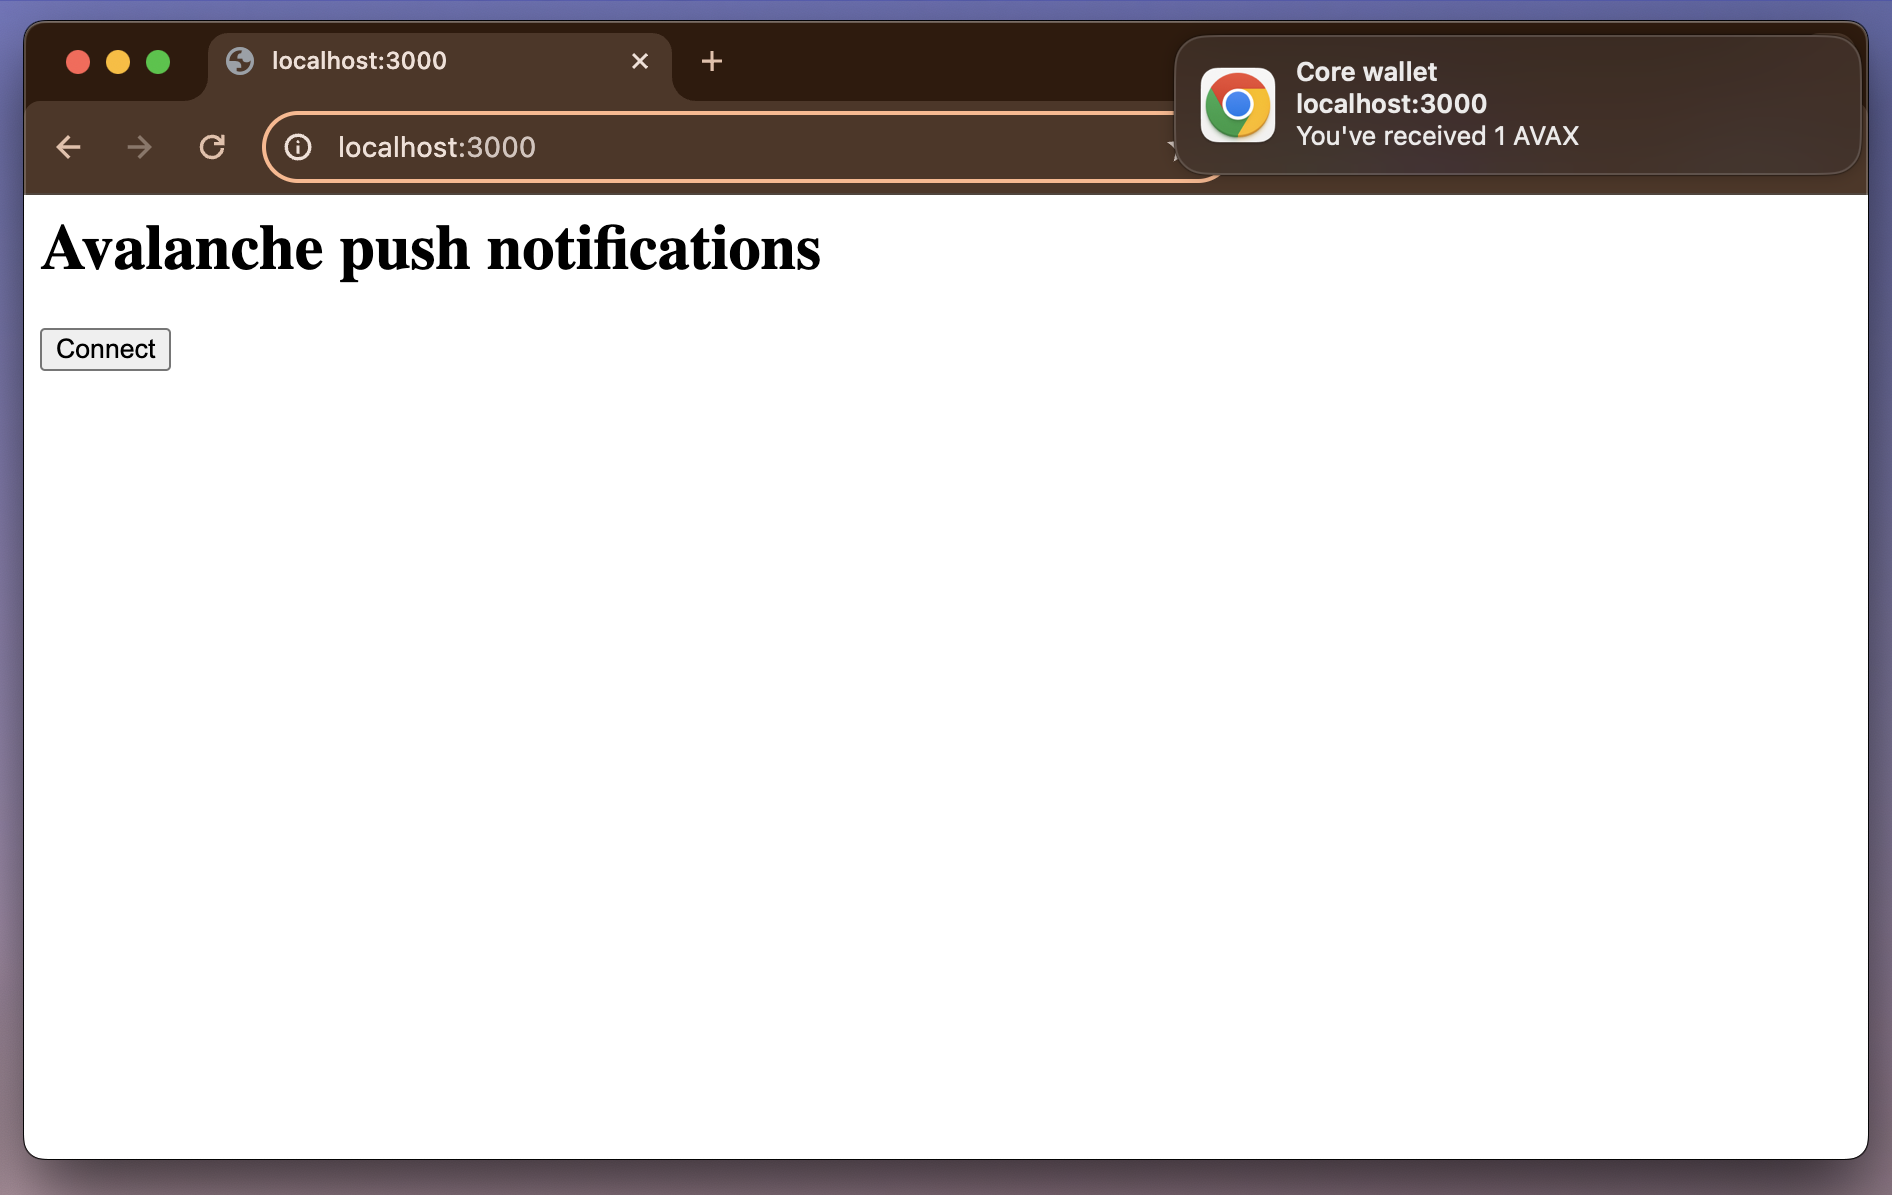
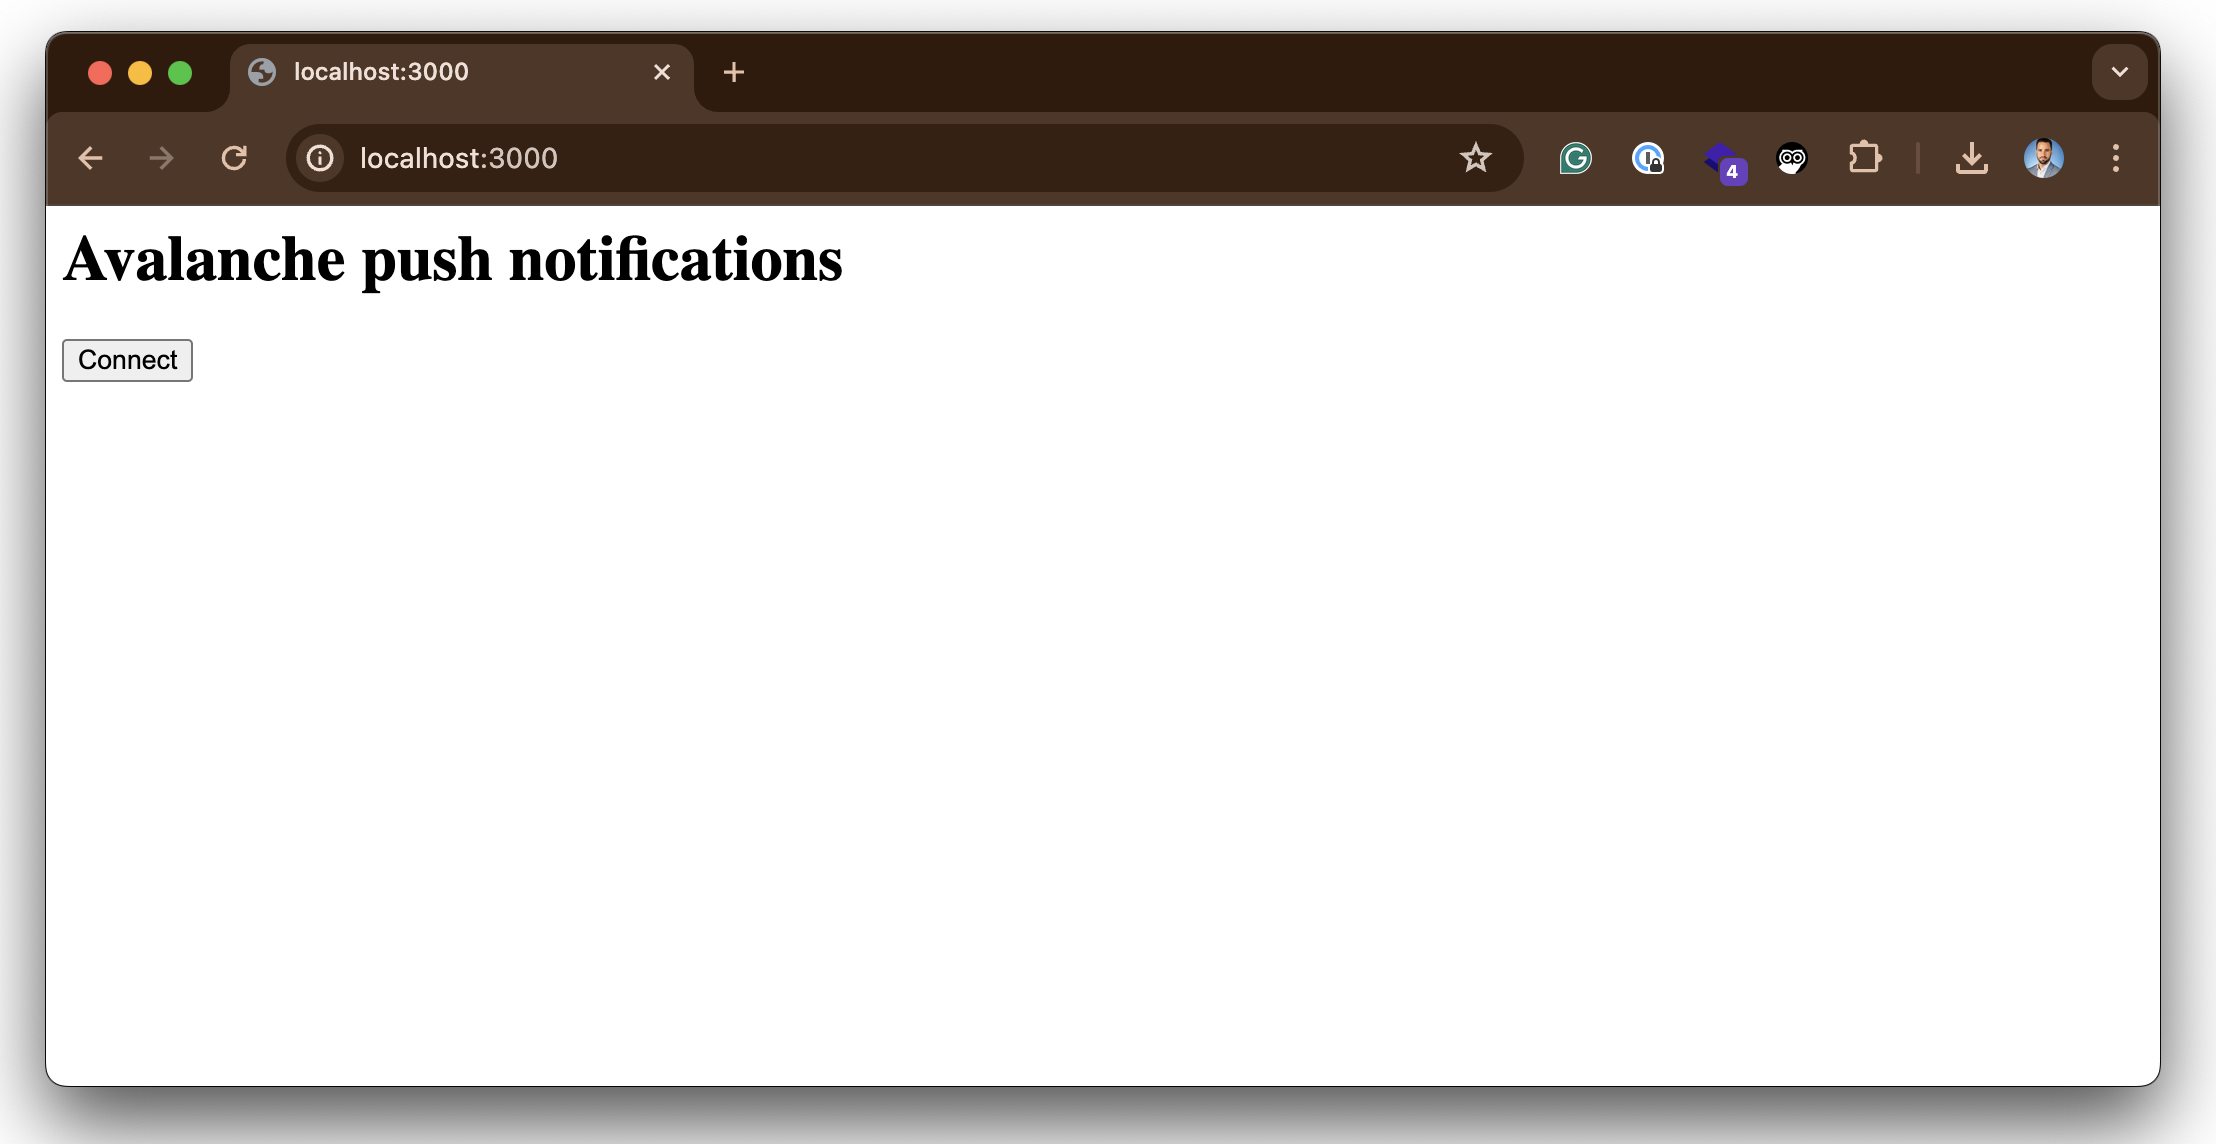
http://localhost:3000, you should see something like this. Then click on Connect and accept receiving push notifications. If you are using MacOS, check in System Settings > Notifications that you have enabled notifications for the browser.
Step 3 - Backend Setup
Now, let’s configure the backend to manage webhook events and dispatch notifications based on the incoming data. Here’s the step-by-step process:- Transaction Initiation: When someone starts a transaction with your wallet as the destination, the webhooks detect the transaction and generate an event.
- Event Triggering: The backend receives the event triggered by the transaction, containing the destination address.
- ExternalID Retrieval: Using the received address, the backend retrieves the corresponding
externalIDassociated with that wallet. - Notification Dispatch: The final step involves sending a notification through OneSignal, utilizing the retrieved
externalID.
3.1 - Use Ngrok to tunnel the traffic to localhost
If we want to test the webhook in our computer and we are behind a proxy/NAT device or a firewall we need a tool like Ngrok. Glacier will trigger the webhook and make a POST to the Ngrok cloud, then the request is forwarded to your local Ngrok client who in turn forwards it to the Node.js app listening on port 3000. Go to https://ngrok.com/ create a free account, download the binary, and connect to your account. Create a Node.js app with Express and paste the following code to receive the webhook: To start an HTTP tunnel forwarding to your local port 3000 with Ngrok, run this next:3.2 - Create the webhook
The webhook can be created using the Avacloud Dashboard or Glacier API. For convenience, we are going to use cURL. For that copy the forwarding URL generated by Ngrok and append the/callbackpath and our address.
Don’t forget to add your API Key. If you don’t have one go to the Avacloud Dashboard and create a new one.
3.3 - The backend
To run the backend we need to add the environment variables in the root of your project. For that create an.env file with the following values:
To get the APP ID from OneSignal go to Settings > Keys and IDs
externalID, and then sends an instruction to OneSignal to dispatch a notification to the browser, with OneSignal ultimately delivering the web push notification to the browser.